Connecting to Wi-Fi
Note
You can change the Wi-Fi settings from just about any screen on the device using the Notification area method. This can be especially useful when you need to change Wi-Fi settings before signing into your device. Earlier versions of the EnSURE Touch only support 2.4 GHz wireless networks, however newer EnSURE Touch will support both 2.4GHz and 5.0 GHz.
It is always important to keep your EnSURE Touch connected to Wi-Fi. It ensures the device can sync results to SureTrend Cloud, minimizing the risks of data loss and enables you to keep your device up to date. We recommend you check for updates at least once a month. Click here to see how. While results on your device will be synced automatically to SureTrend Cloud other programming data such plans, locations, and user info will only sync by manually performing a sync using the Sync button on your EnSURE Touch’s home screen.
Captive Portal
Some Wi-Fi access points require you to enter information in the browser when connecting (e.g. hotels) to their network. Captive portals are supported on the EnSURE Touch. Please see this link for more information.
RADIUS Authentication
Some corporate networks utilize RADIUS authentication. This method authenticates users against directory services such as Microsoft’s Active Directory. It eliminates the need for a shared password. Users will be required to enter corporate login credentials (such as the username and password used to login to their computers) to authenticate. Whenever users change their password they will also need to re-authenticate on the EnSURE Touch by entering their new credentials there as well.
Using Hotspots for Connectivity
If you require immediate network connectivity and do not have a wireless network to connect to you can use the Hotspot feature on your phone (if available with your phone plan and device) or use a Windows 10 machine with wireless capabilities. To use your PC as a mobile hotspot follow these instructions from Microsoft.
There are two ways to connect to Wi-Fi on the instrument:
- Using the Settings button on the Home screen
- Using the pull down Notification area
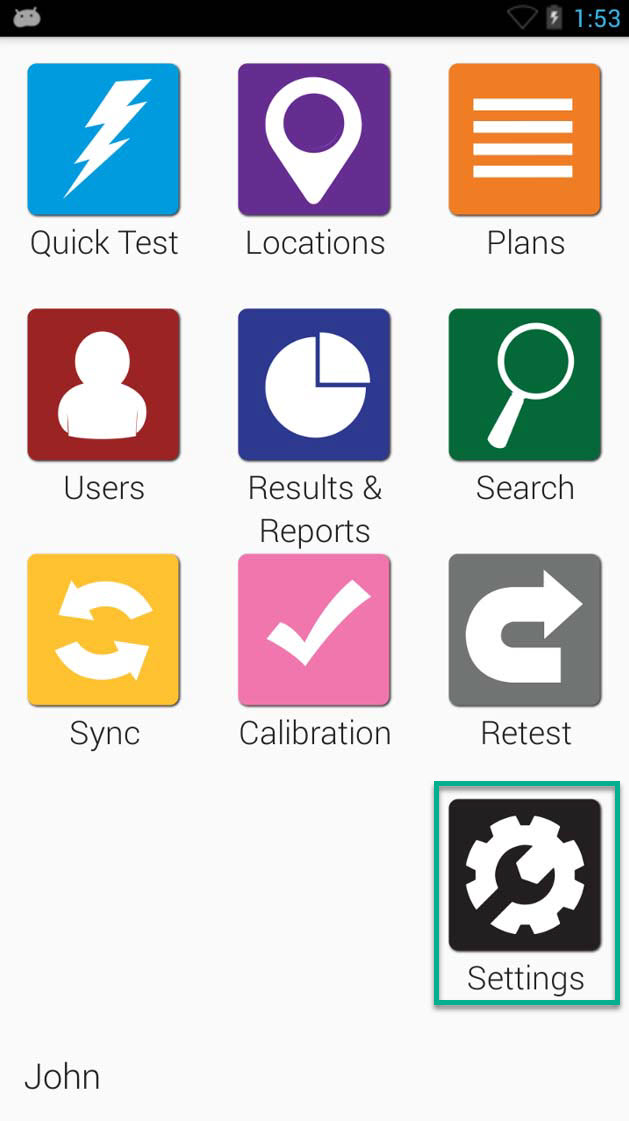
From the Settings button on the Home screen
Click to enlarge |
From the Home screen select the Settings icon. |
 Click to enlarge Click to enlarge |
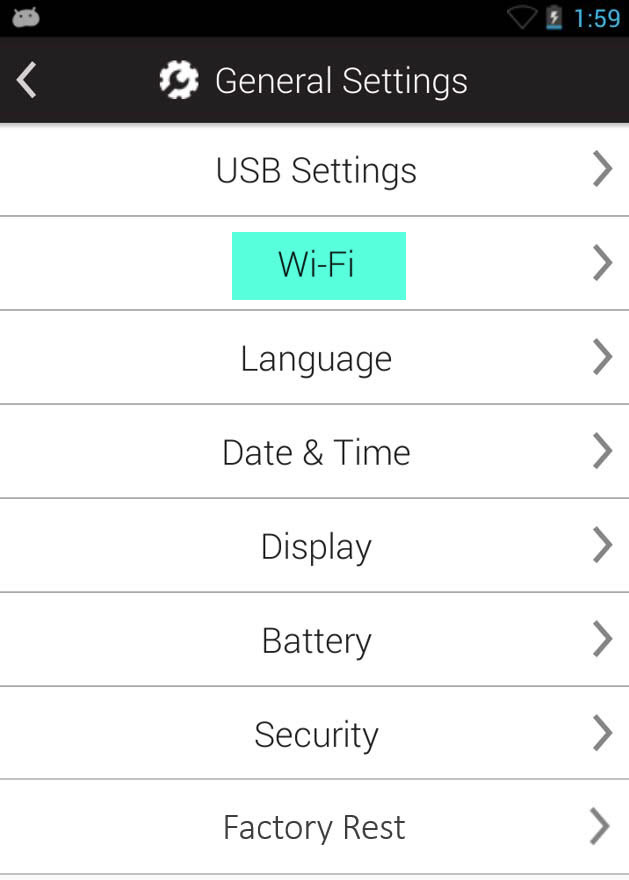
Select the Wi-Fi menu option. |
 Click to enlarge Click to enlarge |
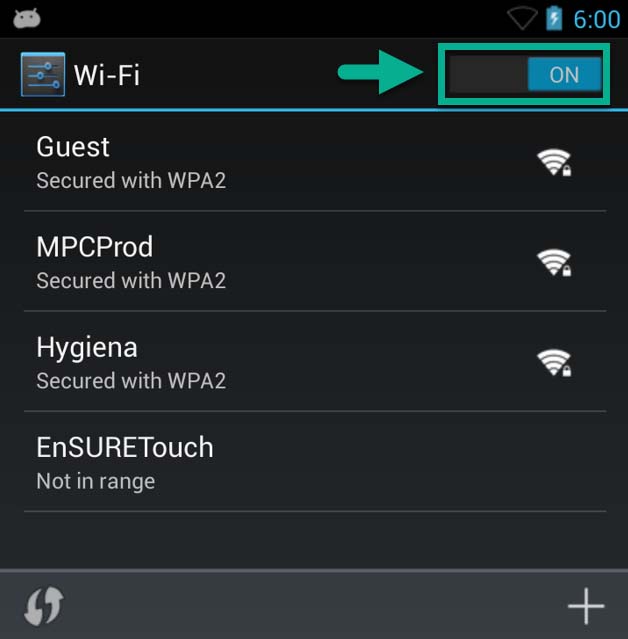
Turn on Wi-Fi if it is off. Select the wireless network to connect to. If you cannot find the wireless network to connect to in the list touch the Add (+) icon to manually add it.
When connecting to a network you may choose from common authentication methods like WEP or WPA2. Your IT team will know which protocol to select if you are unfamiliar with these terms. |
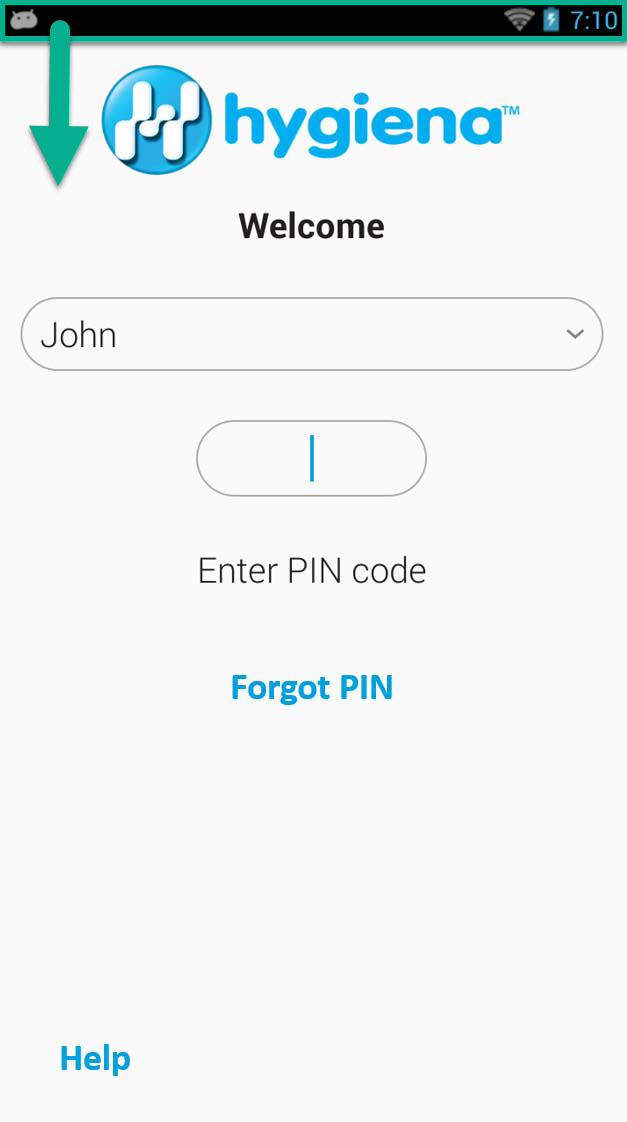
From the Notification area
Click to enlarge |
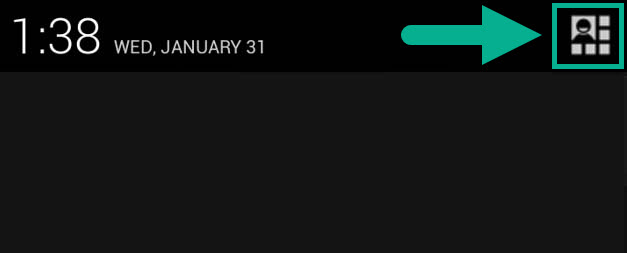
Swipe down from the top of the screen. |
 Click to enlarge Click to enlarge |
Press the Menu Option button in the upper right corner of the screen. |
 Click to enlarge Click to enlarge |
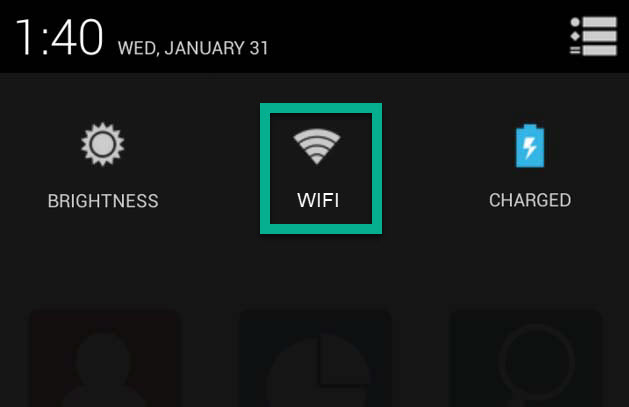
Select the Wi-Fi icon. |
| Click to enlarge |
Turn on Wi-Fi if it is off. Select the wireless network to connect to. If you cannot find the wireless network to connect to in the list touch the Add (+) icon to manually add it.
When connecting to a network you may choose from common authentication methods like WEP or WPA2. Your IT team will know which protocol to select if you are unfamiliar with these terms. |