Introduction
This document will cover battery information, power management features, and how to troubleshoot power on and battery issues.
Battery Basics
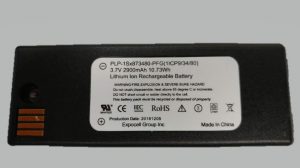
The EnSURE Touch™ battery is a Lithium Polymer cells with PCM Protection module, communication interface for battery level, and external plastic case.
Temperature – Ambient
- Charge 0 deg C to 45 deg C
- Discharge -20 deg C to 60 deg C
- Storage -5 deg C to 35 deg C
Charge Cycles
The battery charge was tested at 800-1000 cycles and still retained 80% capacity.
Usage
- Always power the instrument off before removing the battery.
- Give the instrument 30 seconds to completely power down before removing the battery.
- If the instrument is not plugged into power, removing the battery removes power, and the instrument will shutoff abnormally.
- Abnormal power off is not desired and could lead to power on issues.
- Do not remove the battery when plugged into USB power.
- Do not expose the battery to extreme temperatures.
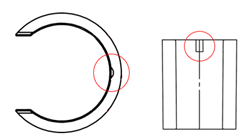
- Do not over tighten the battery. The screw should be tightened lightly until it is secure, and the battery does not move.
Power On/Off Basics
The power button has some basic behavior:
| Current Instrument State |
Power Button |
Behavior |
| Powered Off |
Press and Release |
Power the instrument on |
| Powered Off |
Press and hold for 12 seconds |
Reset and power on the instrument |
| Display On |
Press and Release |
Turn off the display and invoke sleep |
| Sleep mode |
Press and Release |
Wake instrument up in 1 to 3 seconds depending on sleep state. |
Power Management Basics
The EnSURE Touch™ is designed to run off the USB power or the battery if properly charged. You can run the instrument without the battery and just use the USB adapter and USB cable. All operations that consume power should work including display, WiFi, USB communication, light detection, EnSURE Touch Setup and install, Sync, etc. using the USB cable and the power adapter. In fact, we test the EnSURE Touch many times without the battery and just using the USB power.
Android Battery Information
The battery status is visible in the notification area in the upper right corner of the screen as a battery icon. The following are the different battery icon states.
| Battery is low
Battery is not charging |
 |
| Battery has power
Battery is not charging |
 |
| Battery has power
Battery is charging |
 |
| Battery is empty
Battery is charging |
 |
| Battery is critically low < 4%
Battery is missing
Battery is not charging |
 |
You can access the Battery information in Settings > General > Battery Status.
The Battery activity will show the amount of time the instrument has been on battery and the usage of the battery by area/application. The amount of time the instrument is on battery is critical to the accuracy of the numbers. The numbers will be different based on usage, but typically the Screen is the largest consumer of power.
When Charging the battery, usage statics are not accurate, but once on battery they will start to reflect usage.
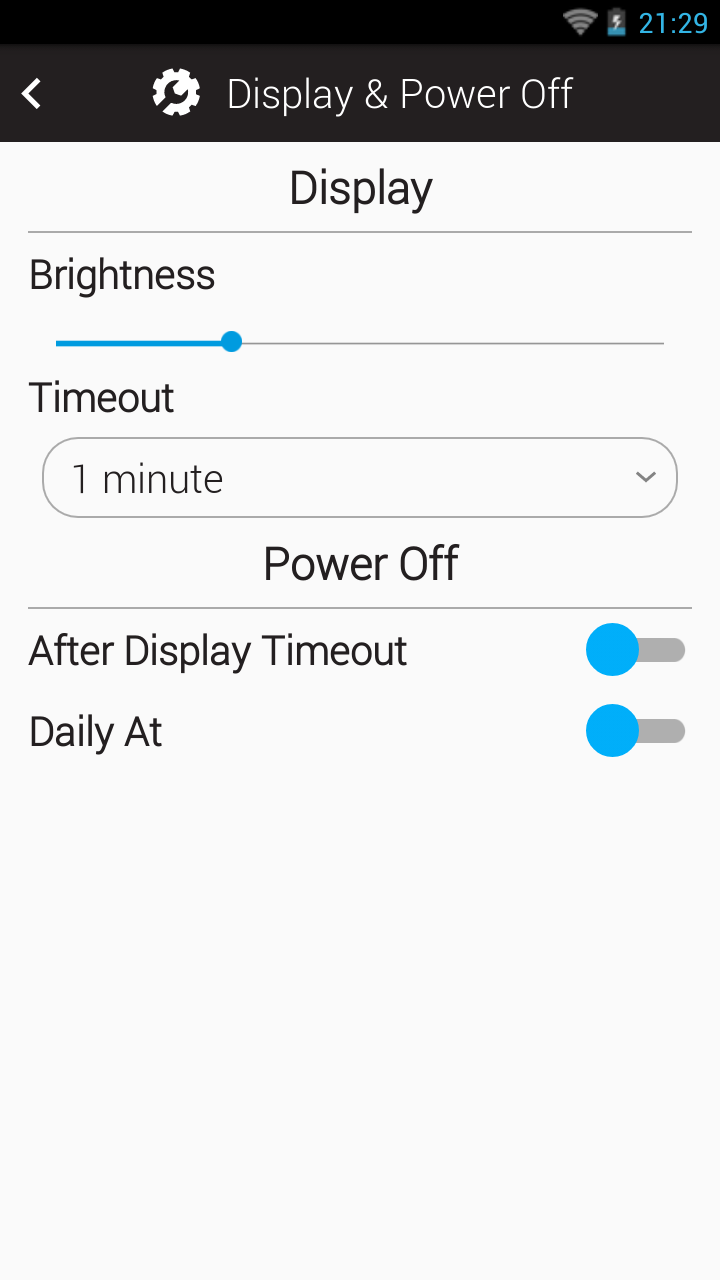
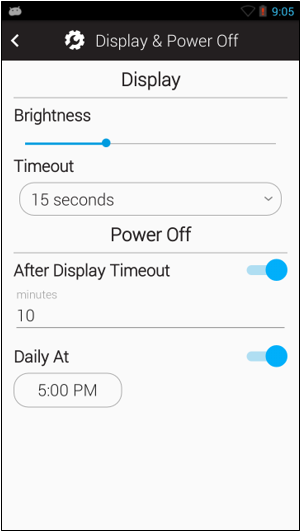
EnSURE Touch™ Power Management Options
The EnSURE Touch™ has some useful power management options. They can be used to conserve battery power and match your usage of the instrument.
In general, most users will want to turn the display to maximum brightness, keep the display on for long periods, and never power the instrument off. When performing a few tests per day this will likely work. However, using the Display & Power Off options below you could conserve the battery power and reduce charge cycles, extending the life of the battery.
The display will dim after 5 seconds of inactive use to conserve power regardless of the settings.
Power management features are designed to work when running on battery. Some features are ignored when the instrument is plugged into power. The screen will not turn off when connected to power, unless instructed to do so by pressing the power button.
| Option |
Behavior |
| Brightness |
Controls the screen brightness. The brighter the more power used. |
| Timeout |
The of time the display will stay on if not touched. One touch is all it takes to reset the timer. You can choose from a list of preset timeouts.
Once the screen is turned off the power to internal sensors will be turned off and the processor will go into power conservation mode. If the instrument is plugged into power, it will not turn the display off. |
| Power Off |
Power off has 2 options that can be enabled. After Display Time Out, and Daily At a specific time. |
| After Display Timeout |
After the display is turned off this will define the time before the instrument powers off. You can enter between 1 and 60 minutes. The instrument much be in sleep mode for this to work. If connected to USB power the display will not turn off and the instrument will not automatically go into sleep mode. You will have to put the instrument to sleep by pressing the power button. |
| Daily At |
When this time is reached the instrument will power down. The instrument must be in sleep mode. This is an alarm event so if the instrument is not ready to power down it will be ignored. You will have to put the instrument to sleep by pressing the power button. |
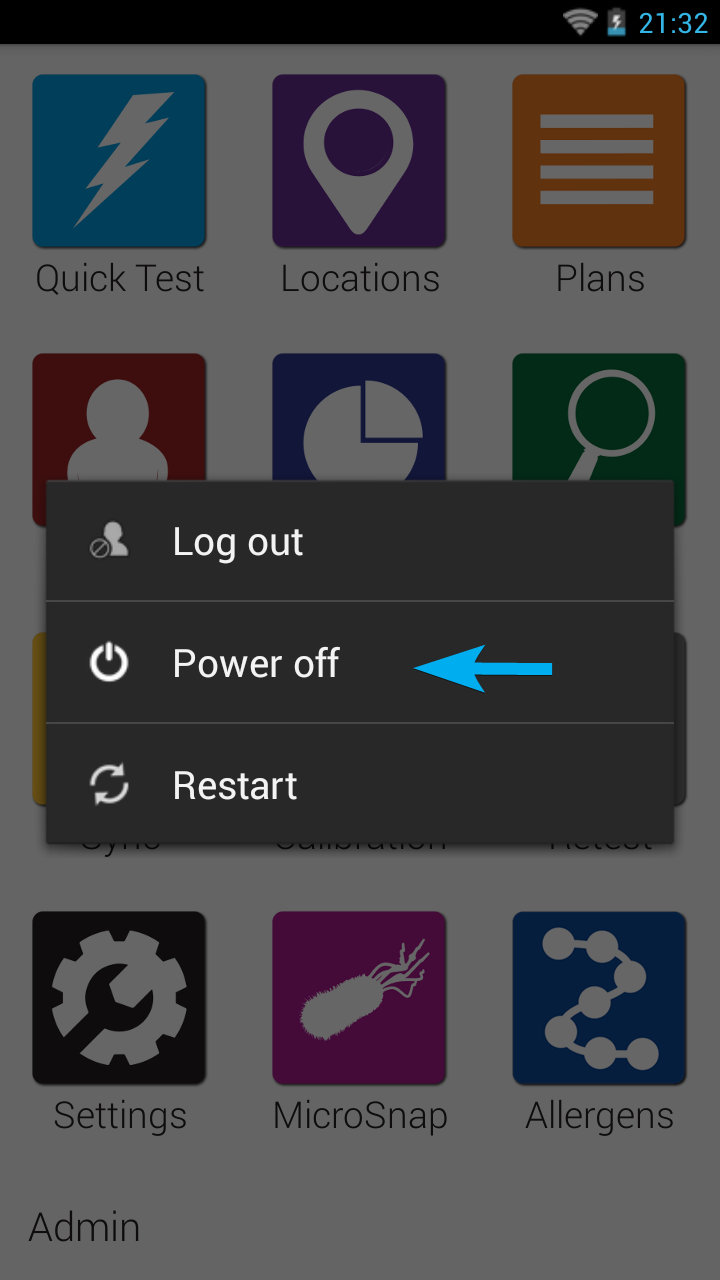
Power on Troubleshooting
The EnSURE Touch™ does not have a separate changing indicator. The only way to know the instrument is changing is to power it on. In the notification are is the charge indicator.
If the instrument does not power on there are a few things to do to troubleshoot the problem
| Step |
Results |
| Press and hold the power button for 12 seconds. Make sure it is a full 12 seconds. |
This will cause a Power on reset operation and will recover from a failed shutdown. You should see the screen slightly light up when the power is activated. If this does not work the battery may be insufficient charge. |
| Connect the instrument to power. Use the supplied power adapter and cable. Press and hold the power button for 12 seconds. |
The instrument is designed to power on an operate using the USB power. You do not need to change the instrument. If this does not work and of the following issues could be true.
1. Wall power is off
2. Power adapter is not working
3. Cable is not working
4. Cable fit in not working
5. Instrument is not working
The following steps will try to identify the problem above and should be performed in the order most likely for your condition. Use the same 12 second power on operation to validate the remaining tests. |
| Connect a device you know is working to the wall power. |
In most cases the wall power is working, but it possible the circuit is off or surge protector if used it not working. |
| Use an alternative power adapter. |
The power adapter shipped with the EnSURE Touch share the same specification with phone, table, and most USB device chargers. We have used iPhone, Samsung, and many 3rd no-name brand adapters, and they all work. Some adapters do not supply enough power to perform the most power intensive operation, so the instrument may turn off. Using a second USB adapter suppled by Hygiena is preferred. |
| Change the USB-C cable orientation. |
The USB-C cable can be inserted in 2 different orientations. This is to make the insertion easy. However, connectors on both sides in the system and on the cable must be working. It is possible on side is failing. |
| Use and alternative USB-A to USB-C cable |
This is a common cable used by many popular phones and tablets. It is possible the cable is damaged. Using a second USB cable supplied by Hygiena is preferred. |
If none of the above steps solve the problem the EnSURE Touch instrument is not working. click here to submit a ticket for technical support.
Battery Power Levels
As the battery level depletes the instrument will respond accordingly. The goal is to make sure the instrument has enough power to warn the user of the battery status, perform functions correctly, power down the instrument to protect the OS form shutdown failure, and power the real time clock for an extended period. Below are the battery level ranges and what the user should expect.
| Battery Level |
Behavior |
Notes |
| 15% to 3% |
Low battery warnings |
You can dismiss these and continue to use the instrument. |
| 5% to 3% |
Lower battery message when running a test or performing Sync advising that the power is low, and the instrument could power off during the function. |
You can dismiss and proceed, but the test or sync may fail. |
| 3% to 2% |
Lower battery power down message.
Instrument will power down. |
This can happen at any time and will stop running tests or sync process. |
| 2% to 0.5% |
Will likely see the boot animation, but the instrument will power off. |
Once the instrument has booted enough to check the battery it must shutdown immediately. This is when the boot cycle can become corrupted and require a 20 second power button hold to power on. |
| 0.5% and 0% |
Will likely see the screen illuminate but will not see the boot animation. Instrument will power off. |
If you plug the instrument into power, it should boot. |
Power Down Details
The instrument will power down at 2% or less. This is for multiple reasons.
- There is not enough battery to run tests, sync or perform other functions. This protects the OS and the application behavior.
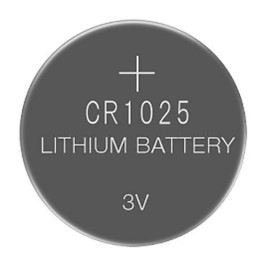
- The Real Time Clock (RTC) has a super capacitor to keep the RTC alive at 0% battery, but if the battery is at 1-2% it can maintain the RTC for months.
Contact Hygiena Technical Support for further assistance.