Accessing Captive Portals on EnSURE Touch
Some Wi-Fi networks require users to access a captive portal through a browser to accept terms and conditions or verify credentials before accessing the internet. This article will provide instructions on how to access a captive portal for your network on the EnSURE Touch.
Requirements
- Download and install EnSURE Touch captive portal components. Click here for more information.
Connect to a Wi-Fi Network
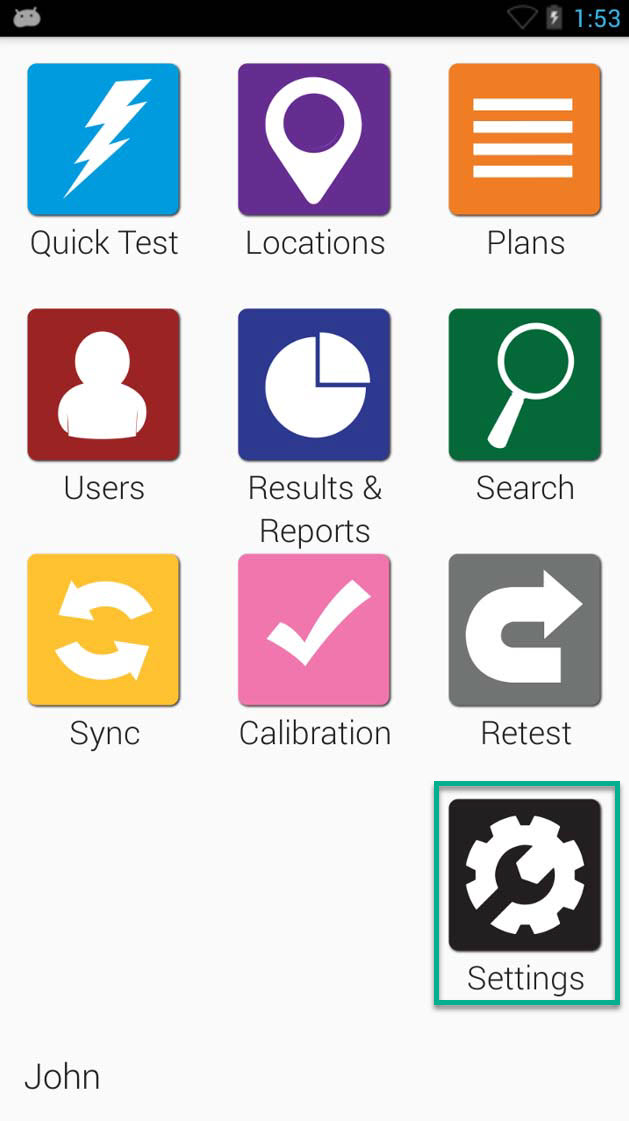
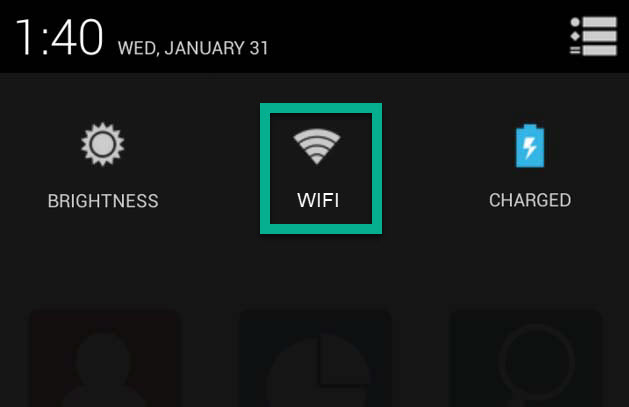
- Tap Settings.
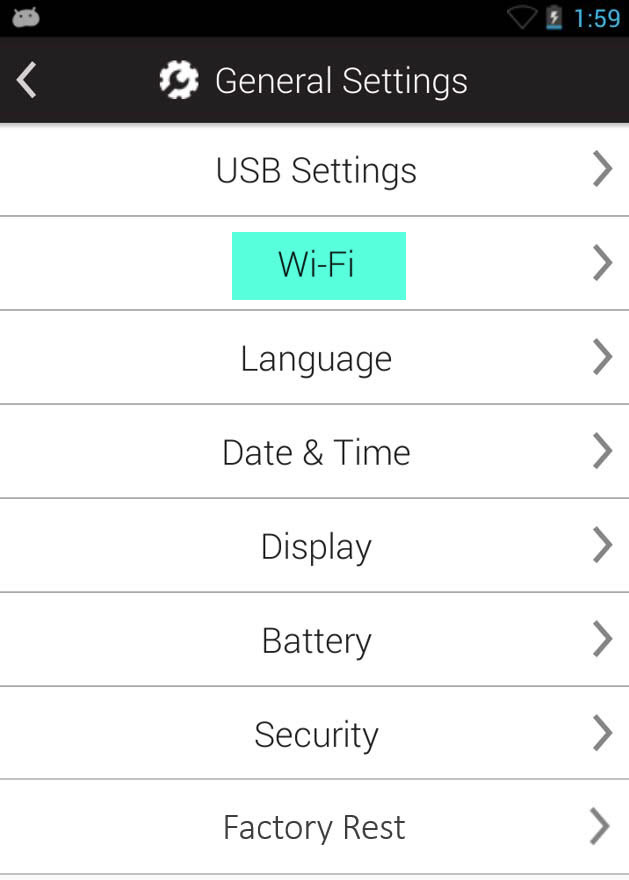
- Tap Wi-Fi.
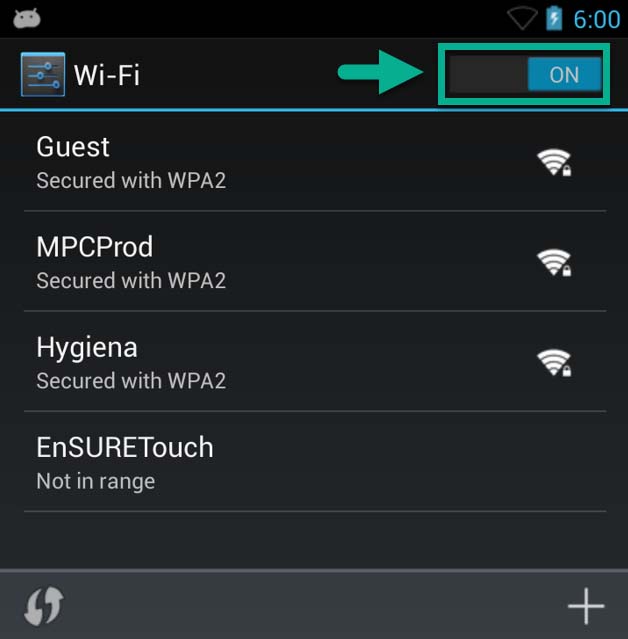
- Tap the name of your network.
- Enter a password and any other required information, then tap Connect.
- Press the Home button to return the the Home Screen.
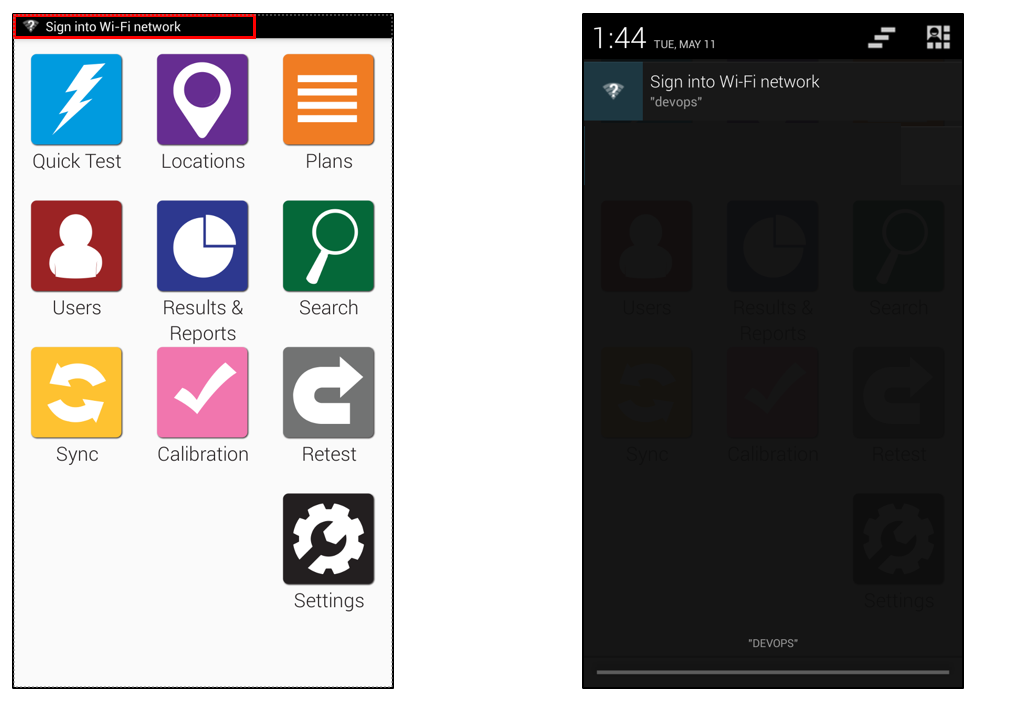
Note: If the network has a captive portal, you will see a notification reading “Sign into Wi-Fi Network” in the notification bar.
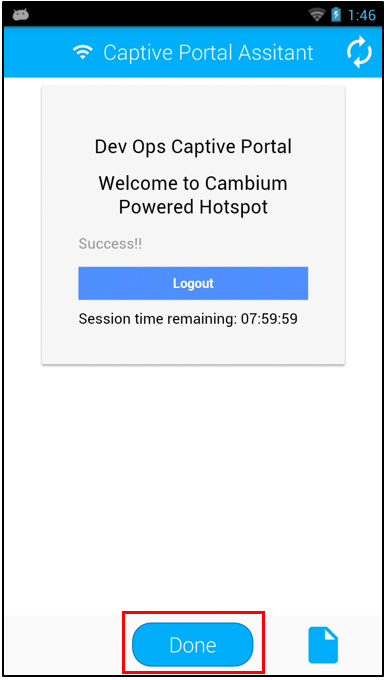
Access the Captive Portal
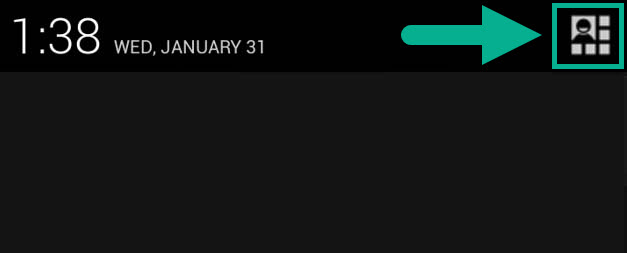
- Swipe down from the top edge of the screen to pull down the Quick Access/Notifications menu.
- If you do not see a notification reading “Sign into Wi-Fi Network,” tap the button in the top right corner to switch to the notifications menu.
- Tap the notification to sign into Wi-Fi. You will be redirected to the captive portal.
- Complete the necessary steps for the captive portal.
- Tap the Done.
Troubleshooting Captive Portal Connectivity
Unable to Connect to the Network
- Go to Settings > General > Date and Time and set the correct date and time on the instrument. If you corrected the date and time, return to the Wi-Fi menu. Tap the name of the network and tap Forget to remove the connection. Repeat the processes above.
- If you are unable to connect to the network and the date and time settings are correct, you may have the incorrect password for the network. Confirm the required password with your IT department. If you need to correct the password, return to the Wi-Fi menu. Tap the name of the network and tap Forget to remove the connection. Repeat the processes above.
Unable to Complete the Captive Portal Sign In
- If you did not receive the notification to Sign into Wi-Fi network or you accidently dismissed it, you can turn Wi-Fi off and on to receive another notification. Go to Settings > Wi-Fi, tap the toggle to turn Wi-Fi off. Tap the toggle again to turn it back on.
- If you entered the incorrect information in the captive portal and are not able to edit it, you will need to remove the connection to the network and reconnect. Return to the Wi-Fi menu. Tap the name of the saved network and tap Forget to remove the connection. Repeat the processes above to connect to the network and sign into the captive portal.
Captive Portal Disconnects
- Some captive portals are only intended to facilitate a connection for a limited period of time. If you become disconnected from the network, return to the Wi-Fi menu. Tap the name of the network and tap Forget to remove the connection. Repeat the processes above to connect to the network and sign into the captive portal.
Note: Your IT department may be able to adjust the settings that limits the duration of the connection.
Contact Hygiena Technical Support for further assistance.
- Phone: 1-888-HYGIENA (1-888-494-4362, option 2)
- Email: techsupport@hygiena.com
- Submit a Support Ticket
- Schedule a Microsoft Teams meeting with support